Here is the official XenForo installation guide which lays out all the steps for XenForo installation. This guide is much more detailed with screenshots for each step of the installation process. It assumes you know how to upload content to the server via FTP using software like FileZilla.
Download the XenForo from the official site and unzip it. You will see an upload folder along with an INSTALL-UPGRADE.txt file. Upload the content of the upload folder to your host where you want to install the XenForo forum.
NOTE: Upload the content of the upload folder and not the upload folder itself.
Pre-Installation XenForo 2.0
Once all the files have been uploaded, open up a web browser and visit your XenForo’s index page, it will detect this is a fresh installation and redirect you to the installation page.
If any configuration or permissions aren’t set as they should be, XenForo will show a warning.


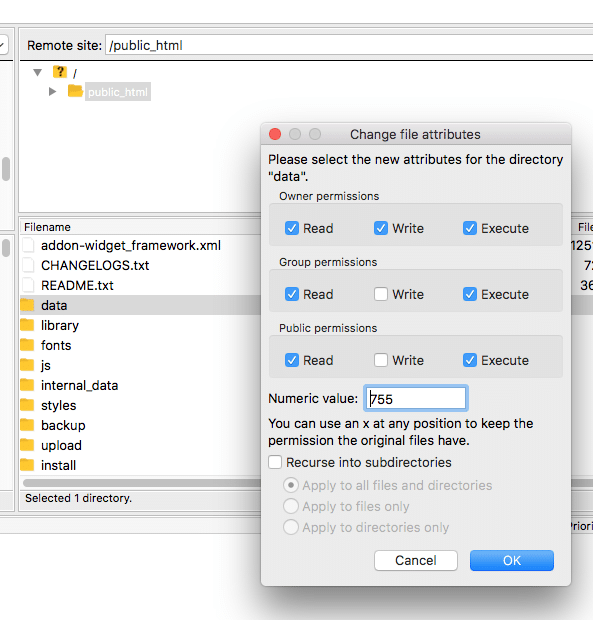
You will have to change the permissions of those folders to 777. Because I am doing the setup on my XAMPP localhost on my MAC, I need to visit the folder and change the file permission to allow everybody with write access.
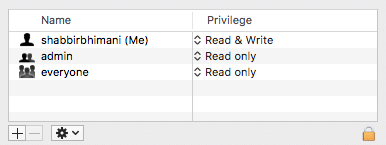

If you are using FileZilla, just right click the folder and choose the File Permissions menu. It will show the folder permission dialog box.

Once we have all the configurations in place, refresh the XenForo installation browser tab and XenForo will detect the changes and will show the following message.


We are now ready to install XenForo 2.0
Start Installing XenForo 2.0
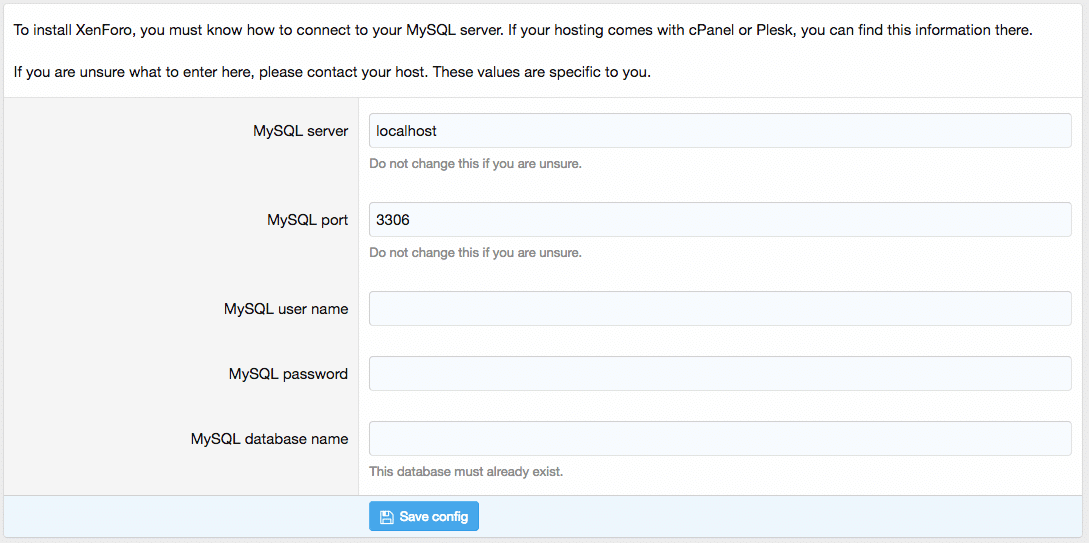
The first step to installing XenForo is to provide MySQL database details. You can create a database for XenForo from the hosting control panel. Once you have your database details, enter them below

The config file is automatically saved but if it isn’t writable, you can download the file and upload it to the src folder.


NOTE: In XenForo 1.x the config file was in library folder but in XenForo 2.0 the location has changed to src folder.
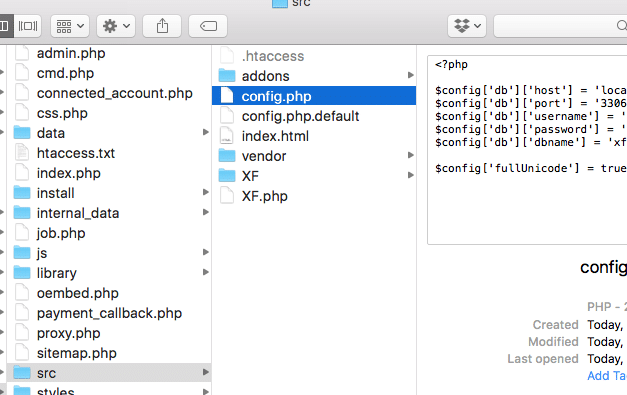

Once you have uploaded the config file, continue with the installation and the process will create the tables and import the templates, phrases and the basic data.


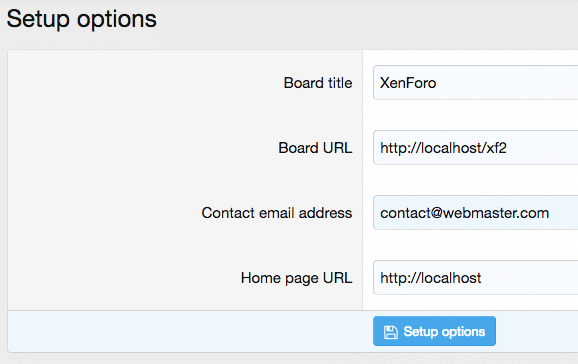
The process will prompt a couple of times. First for basic forum details. You can enter them or take the default and proceed further. You can edit them later.

And then the process will ask to create the first forum user which will act as a super administrator.
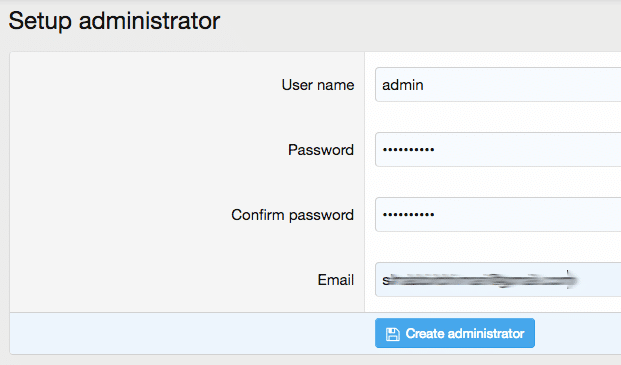

Enter the username, password and email address. Make sure you provide the correct email address because this email will be used to recover the lost password in case you forget it. The installation will complete soon
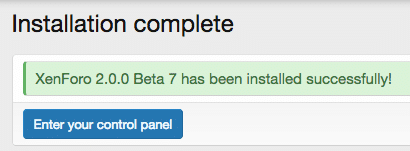

And you can log in to the XenForo admin control panel using the admin account you just created.

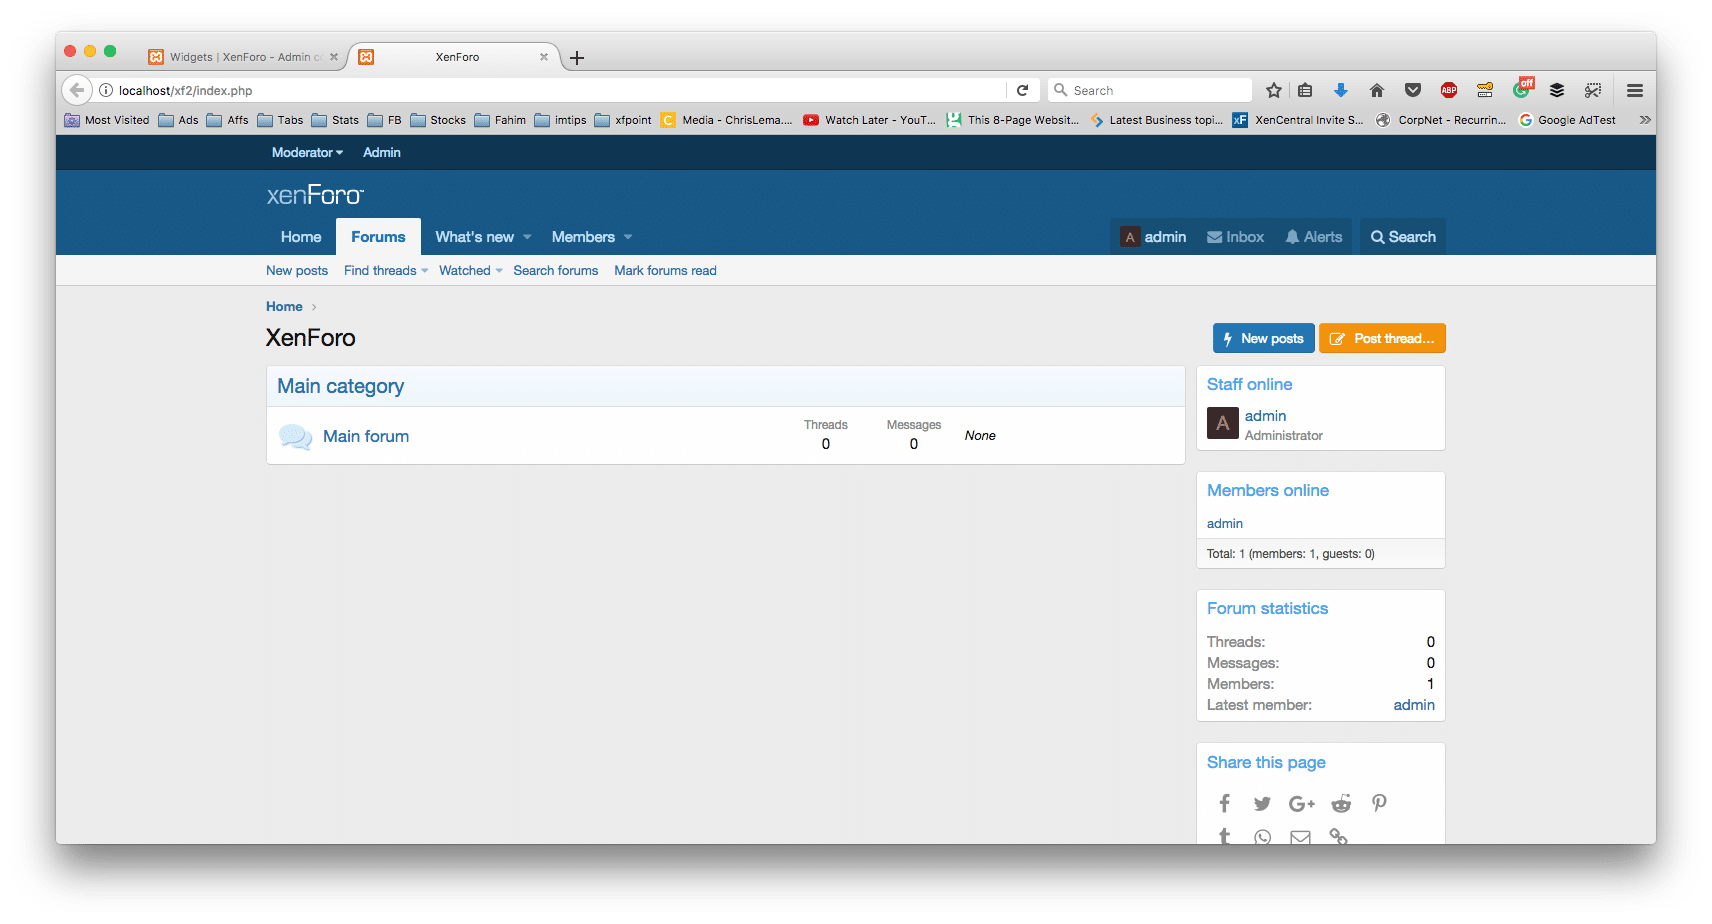
Here is a preview of XenForo 2.0 Admin Control Panel. I find the information much better organized in an accordion.

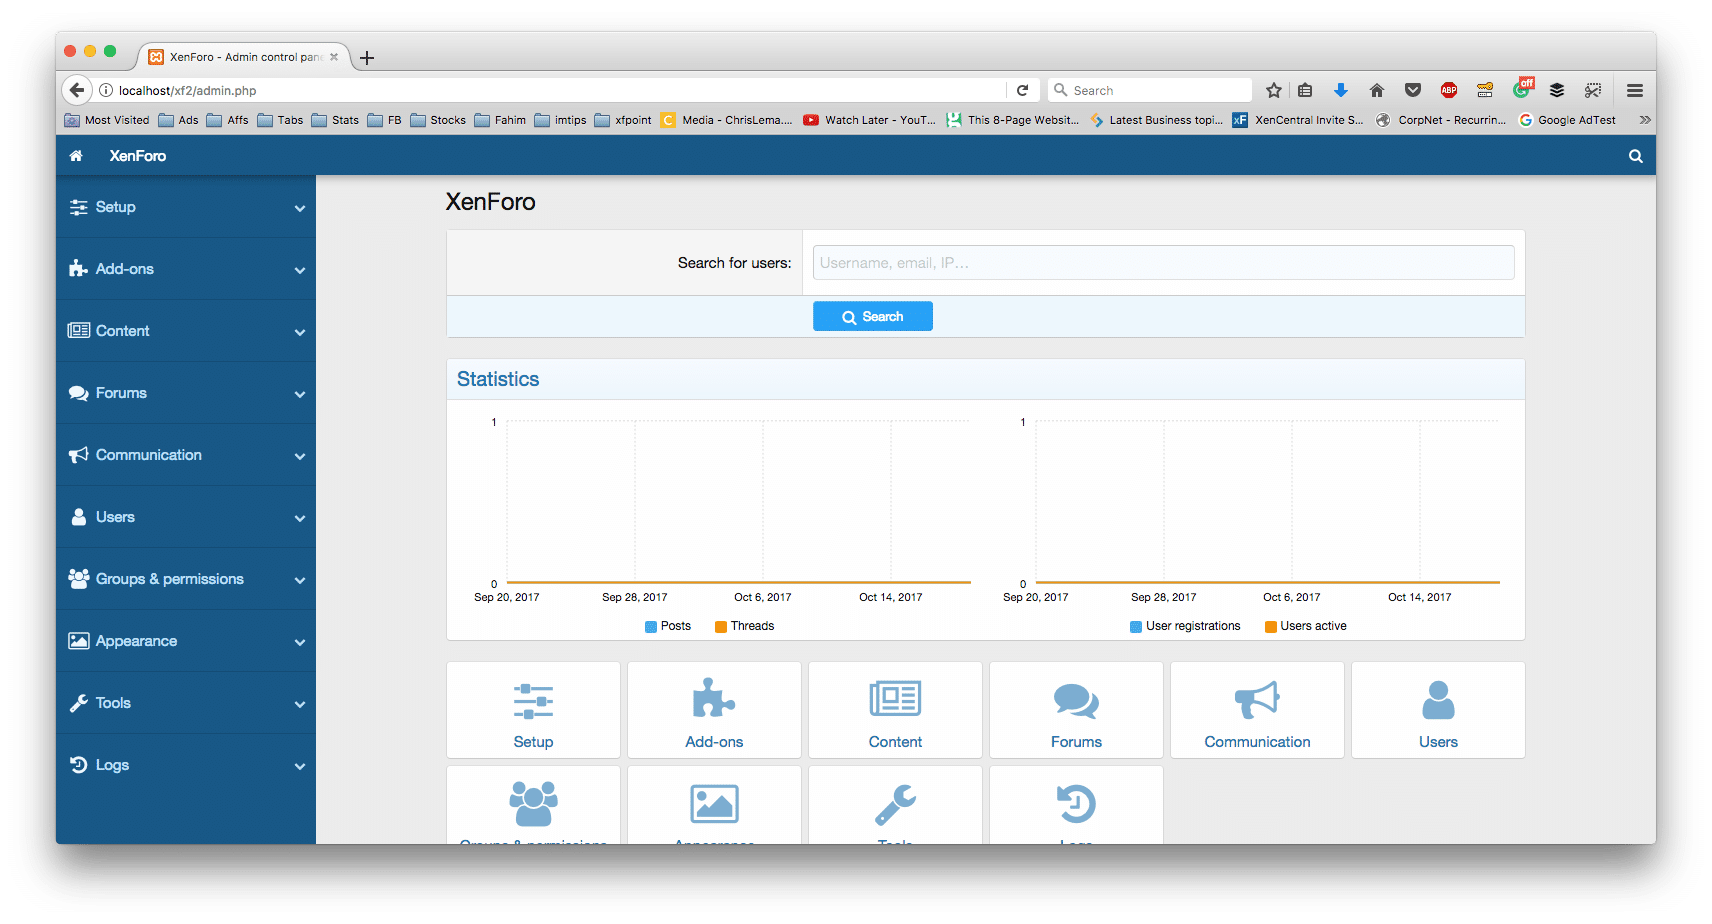
And we are ready to rock and roll with the newly installed XenForo 2.0 forum.