The complete step by step guide with pictures of every step to help install XenForo locally on localhost running on XAMPP. This guide assumes you have successfully installed XAMPP on your computer. If you haven’t installed XAMPP yet, follow this guide on WikiHow.
Step1: Create a local database for XenForo
Click the phpMyAdmin link in the left column of XAMPP’s default home page.
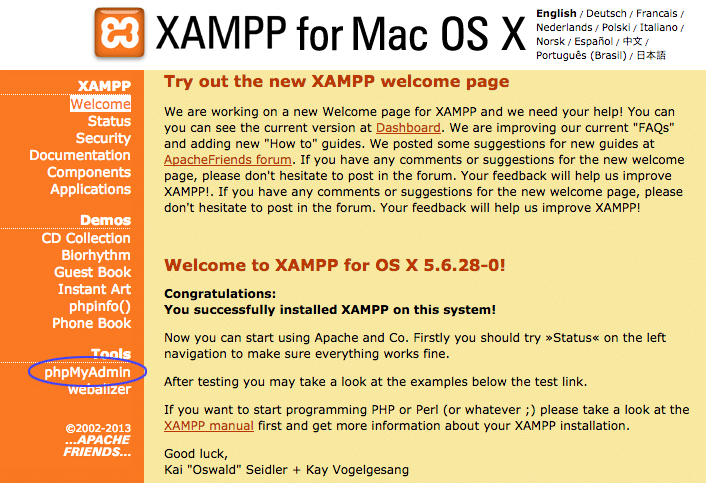
Or browse to http://localhost/phpmyadmin/
Click the Databases tab in the right frame and create a new database.
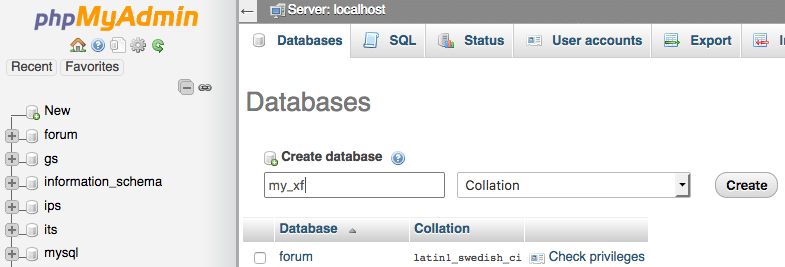
You can name the database anything you want and I will name it as “my_xf”.
Step2: Download XenForo
Download the XenForo software from https://xenforo.com/customers. Make sure you download the full version and not the upgrade package only.
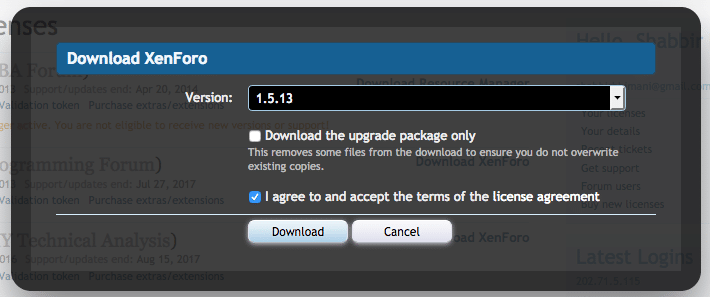
Unzip it. Copy the upload folder to htdocs. Note that we are copying the upload folder itself and not the content of the upload folder.
Rename the upload folder that you pasted to xenforo (or any other name of your choice).
Step3: Install XenForo
Browse to the install url for your local xenforo: The url will be based on the name you have given to the upload folder in the previous step. I named it as xenforo so my url is http://localhost/xenforo/install/ but if you have a different name, change the url accordingly http://localhost/YOURUPLOADFOLDERNAME/install/

Click on Begin Installation. The next step is where we generate the XenForo configuration file.
The MySQL Server will be localhost. If you are using the default XAMPP setup, your username will be root and password for the database can be left blank. If you have changed the root password, then enter the password for root. The name of the database will be the one that we created earlier in step1.
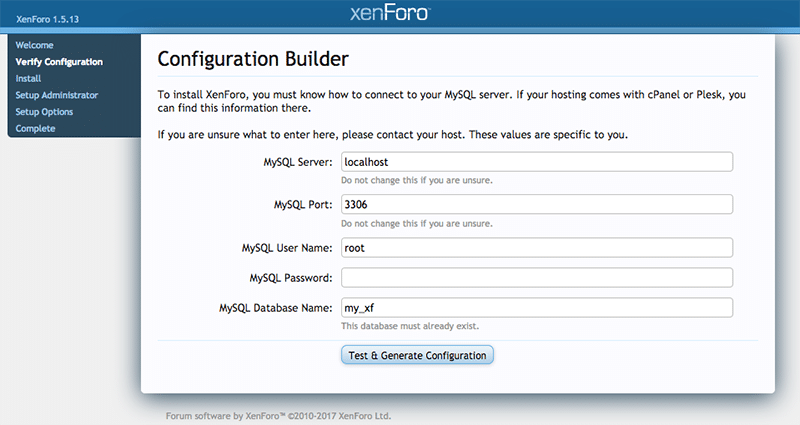
Now click Test and Generate Configuration.

Click “Save Configuration” to save the config.php.
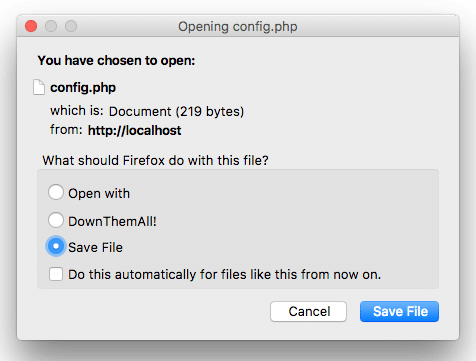
The file should be saved to the folder mentioned in the previous screenshot. In my case it is /Applications/XAMPP/xamppfiles/htdocs/xenforo/library, The path normally is inside the XAMPP htdocs folder > xenforo folder > library folder.
Once the file is saved, click continue to continue the installation.

Once the process completes, it will ask to setup the first user for the forum which will be the super administrator for the forum.
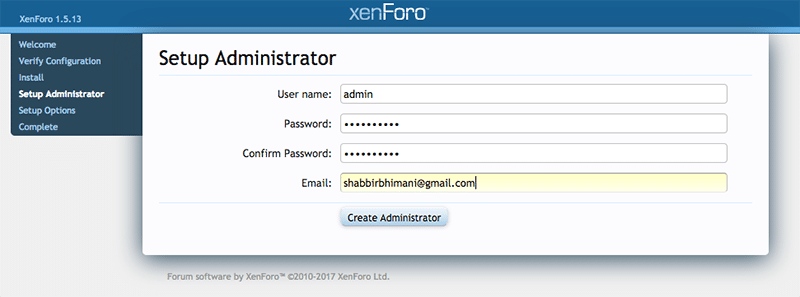
Add username, password and email of your choice. Use a password that you can remember.
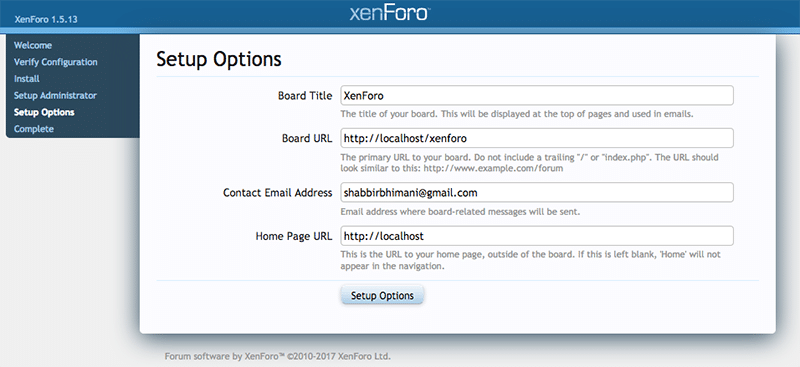
As it’s a test forum on localhost, we can leave everything as default in the setup options.

Setup is complete. Click the “Enter your control panel” button to login to the admin control panel of forum we just installed.
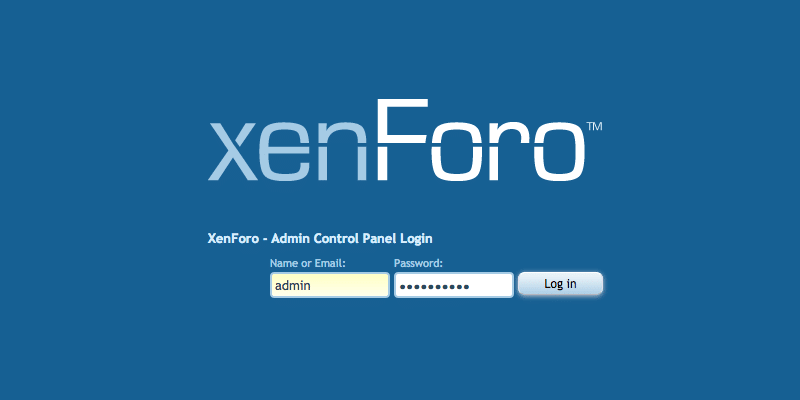
Now use the username and password of the super administrator created in steps above to login to the forum admin. Once logged in the admin area should look like this.
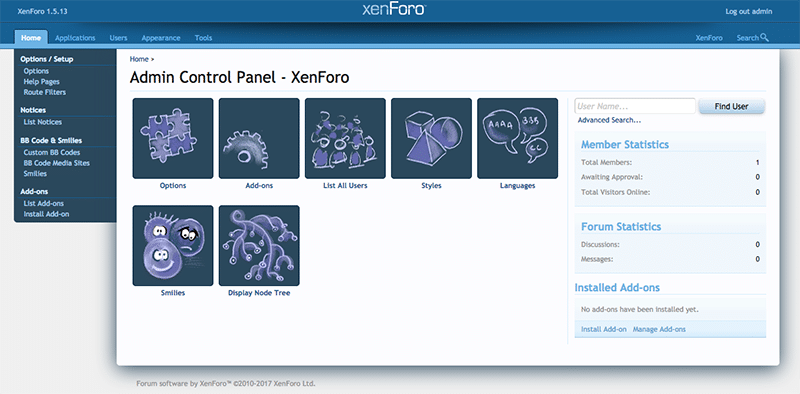
Bookmark the admin url of XenForo or if you can remember it is http://localhost/xenforo/admin.php or http://localhost/YOURUPLOADFOLDERNAME/admin.php